If you are installing the SimsUshare app for the first time, follow the steps below. If you are updating the SimsUshare app, you need to download the latest version but you will not need to activate the license–SimsUshare will recognize the license on your computer already.
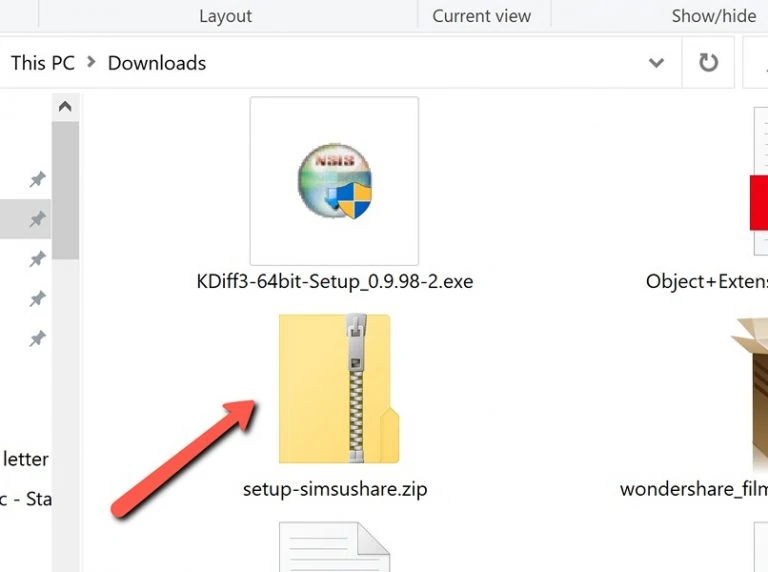
1. Click here to download the 64-bit Windows compressed (zip) installer, setup-simsushare.zip. If you know you are on an older machine that only uses 32-bit applications, click here to download the 32-bit installer.
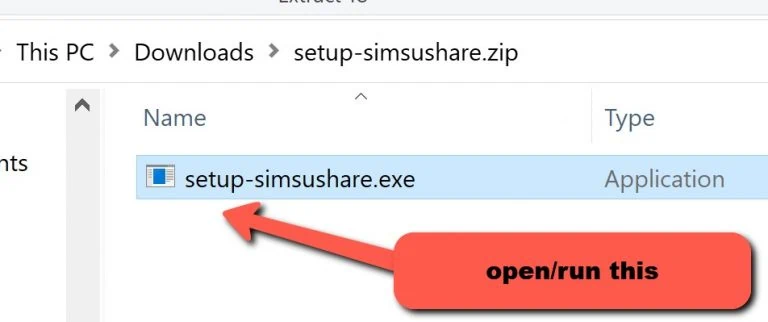
2. Once the zip file has downloaded to your computer, open the zip file and Extract the installer (setup-simsushare.exe)
3. Run (execute) the installer.
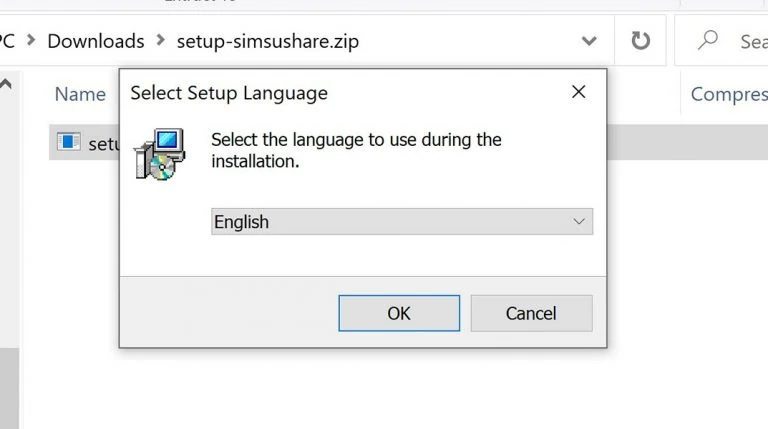
4. Follow the instructions in the prompts.
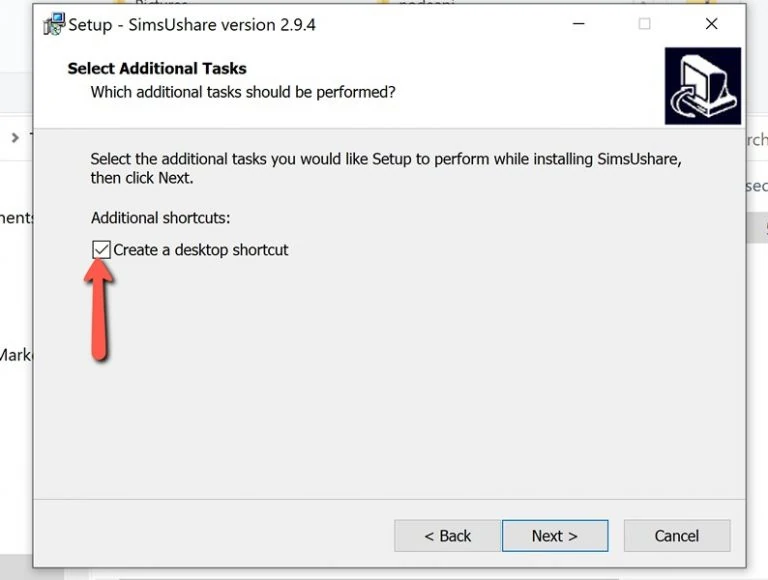
5. If you would like to make a shortcut to the application on your Desktop, click the checkbox on this screen in the process:
6. At the end of the process it will ask you if you would like to start the application. Click Yes.
7. When the program opens, accept the EULA and other information dialogs.
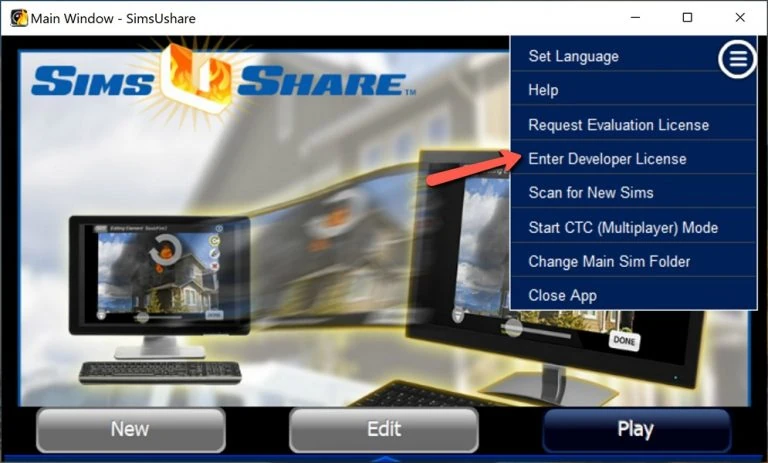
8. Go to the menu in the top right corner of the main screen to select “Enter Developer License”.
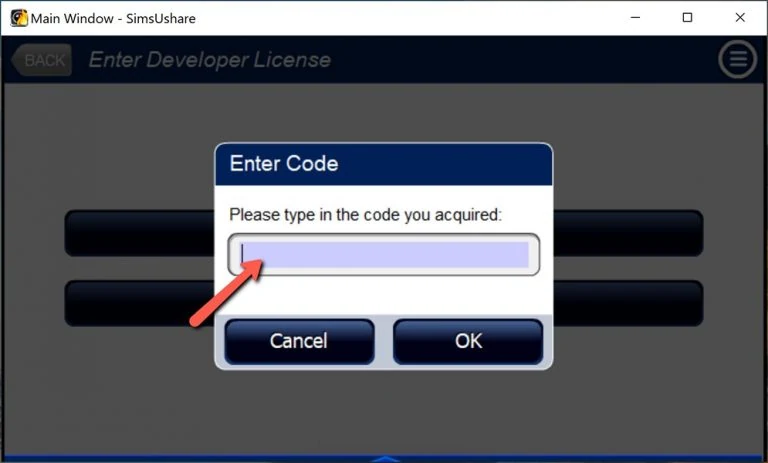
9. Type in the license code you were provided (starts with 01z… or 02z…).
10. If the license is accepted, SimsUshare will tell you the number of days remaining in your current subscription.
Do You Need to Run SimsUshare without administrative privileges?Click here to download this zip file, then unzip to where you’d like to keep it. To run the application, use the SimsUshare.exe application within the unpacked folder.
To Install SimsUshare in a Shared Network Folder: To allow users in your organization to view simulations, you can install the application in a shared network folder. This also makes it easier to update the application in the future. To do this, during Step 4 above, enter the shared network folder as the target installation folder instead of Program Files on your local machine. We are happy to help you do this or show you the instructions in our documentation and Help videos page — look specifically for the Network tutorials, or read the Network documentation.